Steps to make a beautiful woodcut
Before we look at the steps of making a woodblock picture, we must understand the concept of what is a woodblock? Next, learn about the steps to make a woodcut. Let's find out together!
1. What is wood carving?
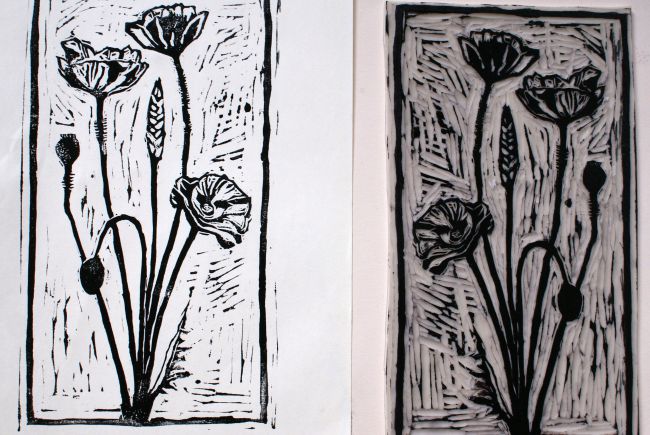
Woodblock painting is a printing technique in the art of graphic printing, using woodblock printing and embossing method. That is, the components that are not printed on the picture (white array) are carved out of the surface of the wood block, the printed part (black plate) is the part that remains.
2. Steps to make a picture other than wood
If you are a person who always wants to learn and create, we will accompany you to share how to make basic woodcarvings.
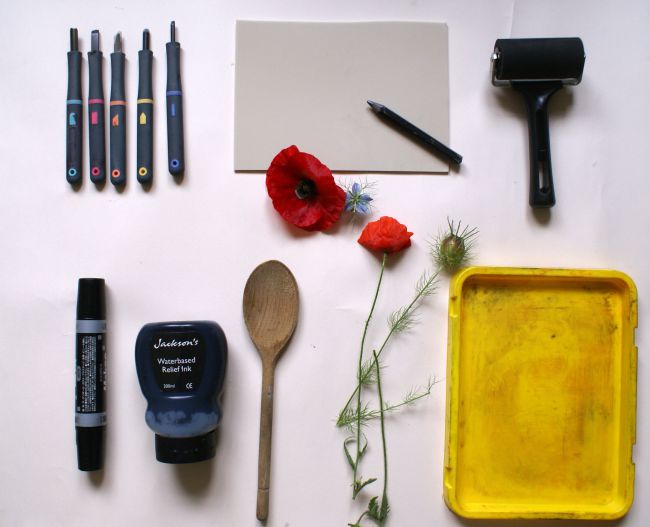
Step 1. Preparation
A pencil, drawing paper, printing paper, engraving knife set, roller, color, wood, carbon paper,...
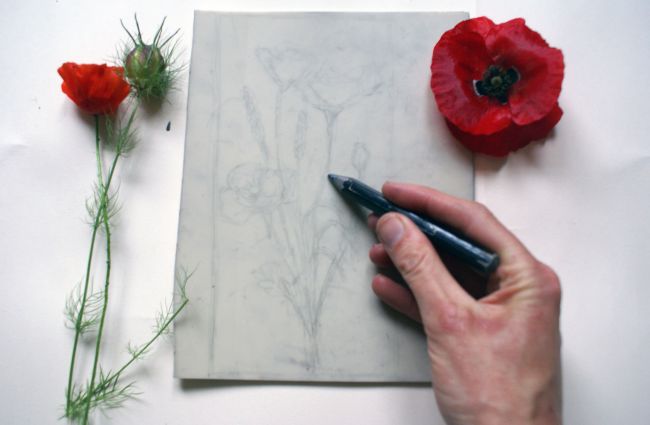
Step 2. Sketch on paper and sketch on wood
Sketch the picture you want on paper, edit the sketch to the standard you want the most. Let's start with simple works, you can draw directly on the surface of the material or transfer the strokes from paper to wooden board through a piece of carbon paper.
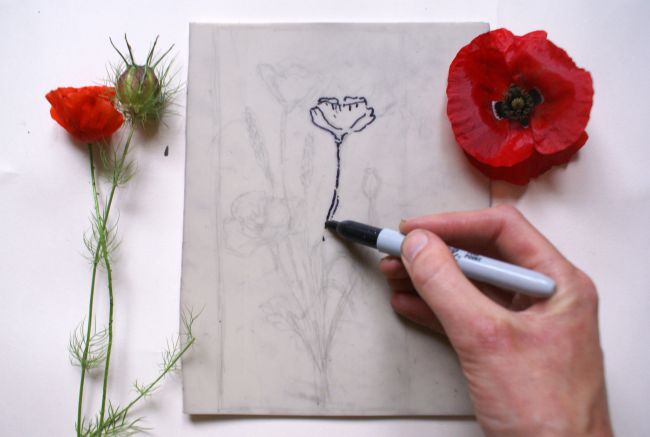
When the sketch is satisfied, you turn the sketch upside down and draw the sketch on your other piece of wood. (Note: When printing a picture on another wooden board, you must turn the sketch upside down so that later your picture will be printed as the standard version without the image being reversed).
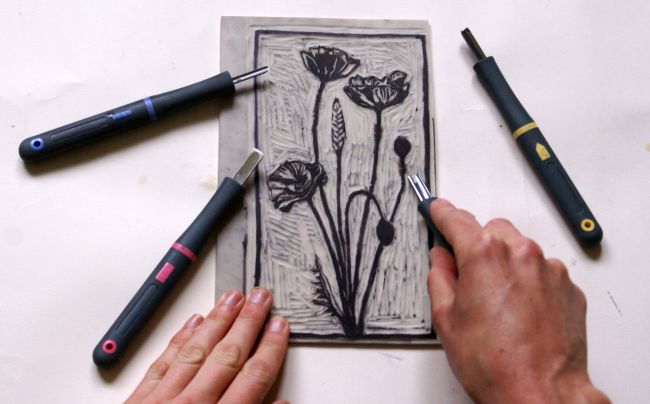
Step 3. Engrave
When we have finished printing the image on wood, now we use another set of knives to differ from the print of the picture. Wood carving sets are indispensable, they include 4-6 pieces, contour carving is the sharpest point, V-groove shape knife, semicircular knife and skateboard shape. Sometimes people who are good at crafting will make their own knife points, so in the framework of practice, buy a basic set. Cut out parts of the picture carefully and carefully because the knife is very sharp, this stage takes the most time, the outlines of the picture will gradually appear.
Step 4: Print color
When we have finished engraving the print on the wood, we use color paper and rollers to proceed to print into pictures. It's time for you to 'roll' the ink out, here we use a plastic tray to dip the ink roller into the ink tank, then roll out the tray until the ink in the tray is even and flat.
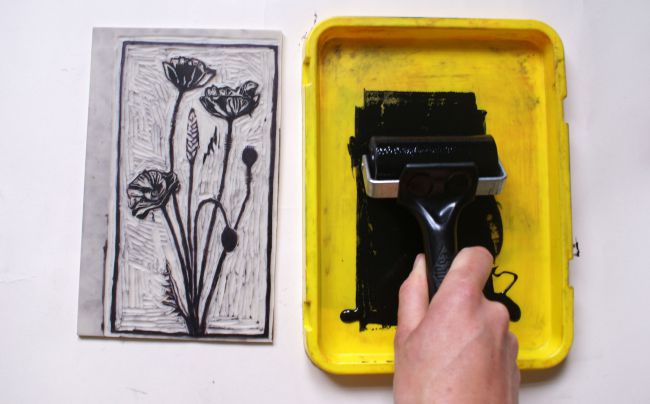
Once you have a nice, even layer of ink, roll it over your work. This is the stage to help you get a rough idea of the work. After applying ink to the material about 2 to 3 times, you should return the ink roller to the tray to refill ink. When applying ink to the wooden board, make sure you have applied a thin, even and light layer of ink to the entire part.

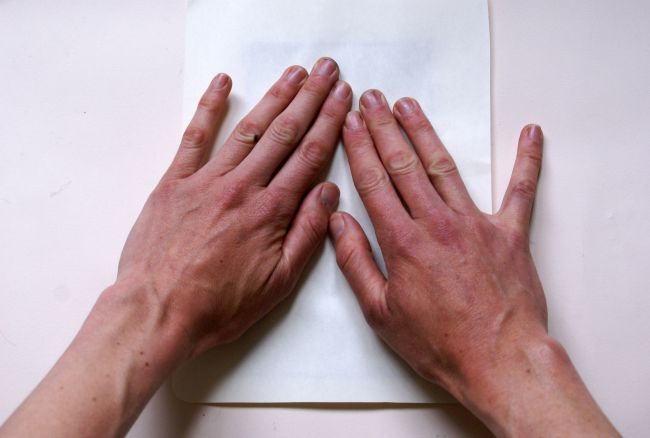
Step 5: Press the paper onto the engraving board and print
On to the printing stage! One of the cool things is that you can do it at home without any specialized printing equipment. All you need is your own hands. Place the paper directly on the wooden board you just finished carving and press it down with your hand.
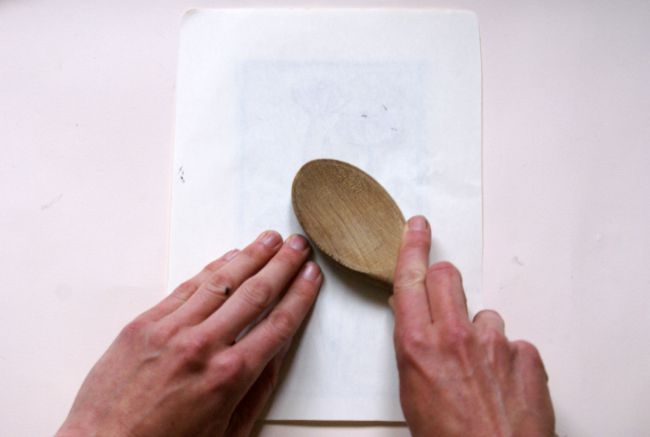
Using a wooden spoon or metal spoon, use the convex surface of the spoon to move in a circle and then slowly spread throughout the work (Alternatively, you can use another clean and dry roller to print) . You should also pay attention to the border. Gradually, you will see the parts that are imprinted with ink and the image of the work begins to appear.
Once the entire surface is pressed, slowly remove the work from the corners. If you find that there is no ink in it, use a spoon to press more, then hold the two corners of the paper and slowly lift it out of the material, so you have a first print, and you can Make as many prints as you like.
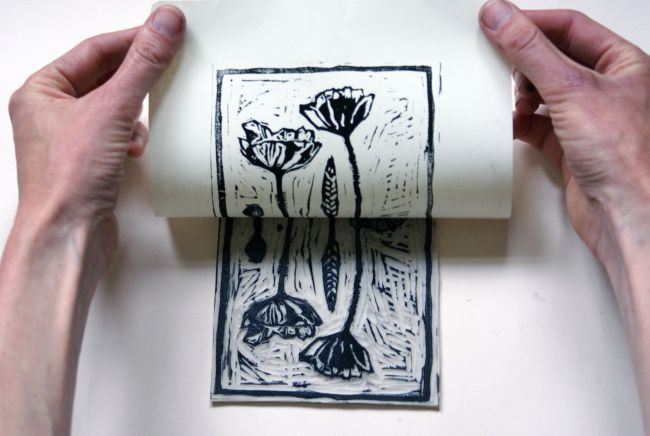
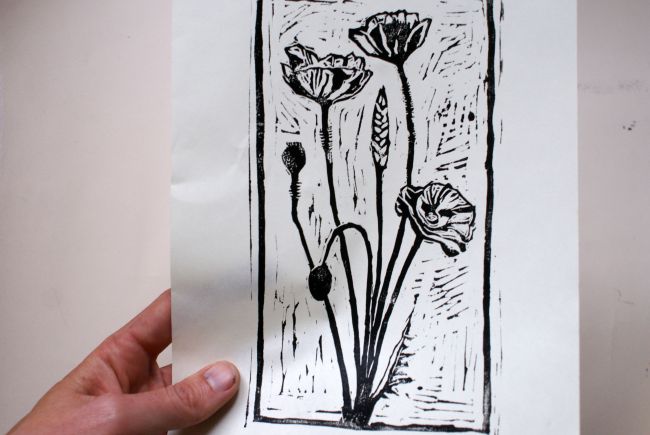
The work on paper will be the inverse of what is on the block of material. Allow a few hours for the work on paper to dry, during which time you thoroughly wash tools such as the negative plate and ink tray with warm soapy water and dry with a cloth.
Above we have introduced the steps to make another picture of wood art. Hope this article will help you understand a little bit about the knowledge of woodcarving art.
Thank you for following this post!